

 English


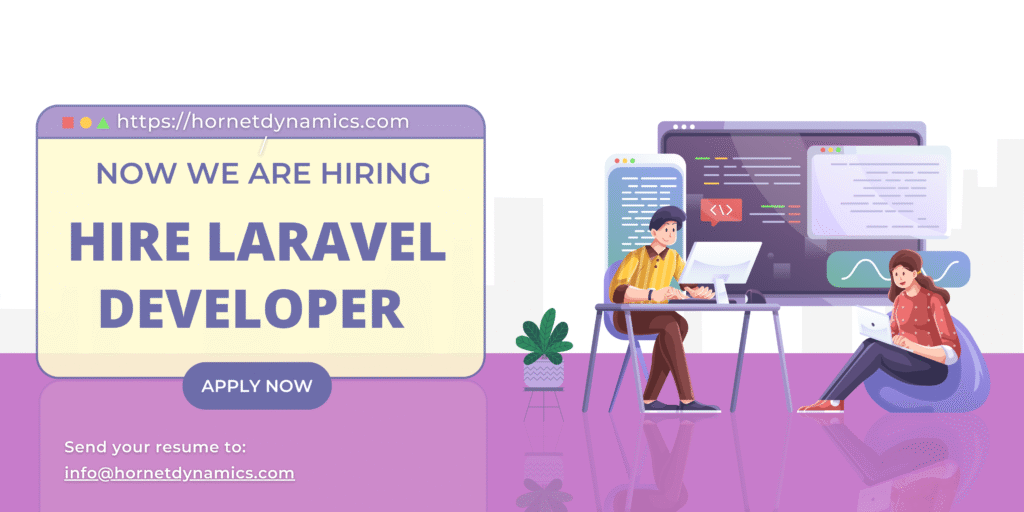


How to Get Started With Jarvis Reach: Step-by-Step Tutorial

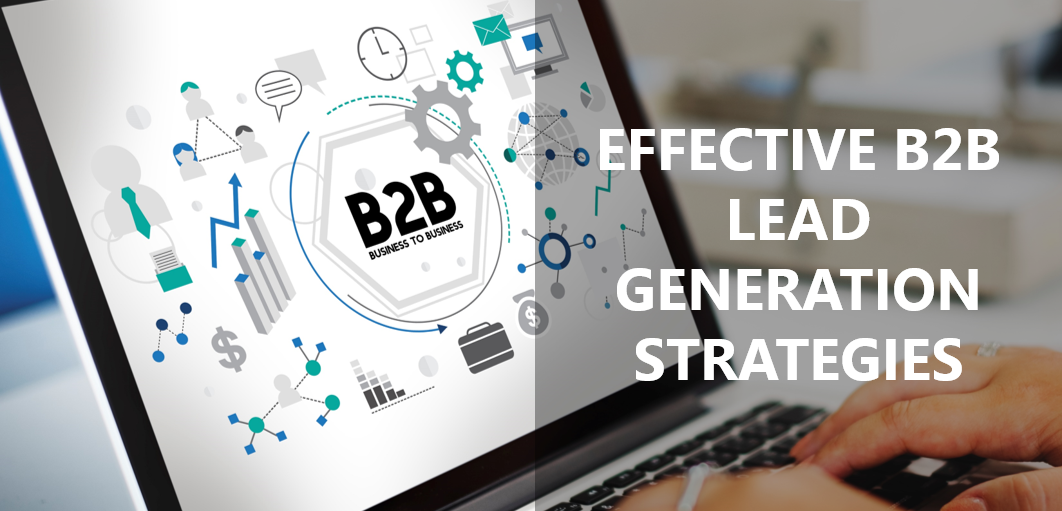
If you’ve ever spent hours scrolling through LinkedIn, manually connecting with prospects, and sending outreach messages one by one, you know how exhausting it can be. Early in my IT career, I remember spending entire afternoons trying to manage contacts, track responses, and follow up consistently. It felt like trying to catch water with a sieve.
Then I discovered Jarvis Reach a tool that changed the game. Suddenly, lead generation and LinkedIn prospecting didn’t have to be a full-time, manual chore. It felt like upgrading from a bicycle to a high-speed train. Today, I want to guide you through how to get started with Jarvis Reach, so you can automate your outreach, save hours, and focus on meaningful conversations.
Step 1: Understanding What Jarvis Reach Can Do for You
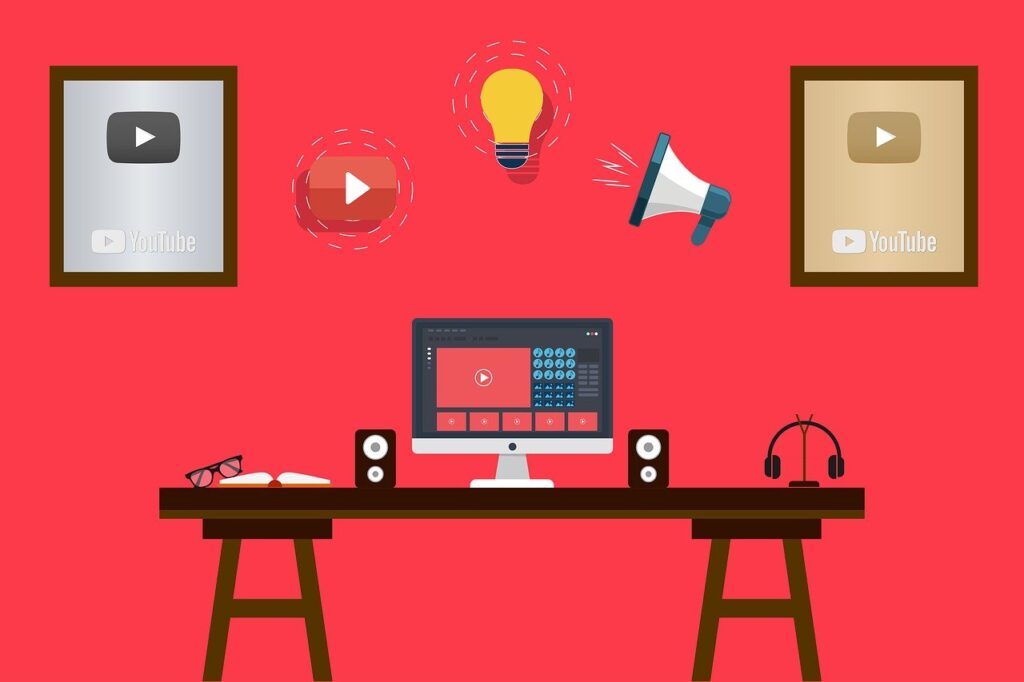
Before diving into setup, it helps to understand why Jarvis Reach is so valuable. At its core, it’s a sales tool designed to automate LinkedIn outreach and streamline lead generation. Think of it as your personal assistant for prospecting: it helps you identify potential clients, send personalized messages, and track responses all without manual entry.
For IT professionals, marketers, or anyone handling B2B outreach, Jarvis Reach isn’t just a tool; it’s a workflow upgrade. It reduces repetitive tasks while ensuring consistency, making it easier to scale your efforts without losing a personal touch.
Step 2: Creating Your Jarvis Reach Account
Getting started is simple. Here’s how to set up your account:
- Visit the Jarvis Reach website and click “Sign Up.”
- Enter your basic details name, email, and password.
- Connect your LinkedIn account. This is essential because Jarvis Reach works directly with LinkedIn to identify and engage prospects.
- Verify your account via email, and you’re ready to start your first campaign.
Tip: Use a professional LinkedIn profile for better results. Jarvis Reach performs best when your account appears credible and trustworthy.
Step 3: Setting Up Your First Campaign
Once your account is active, the next step is Jarvis Reach setup:
- Click on “Create Campaign.”
- Choose your audience this could be filtered by industry, job title, location, or company size.
- Customize your outreach message. Jarvis Reach allows dynamic variables like {First Name} or {Company}, which makes each message feel personal.
- Set the schedule for sending messages. You can automate follow-ups for those who don’t respond initially.
I remember creating my first campaign and being amazed at how easy it was to craft messages that didn’t feel robotic. Personalization combined with automation is the real secret here.
Step 4: Importing and Managing Leads
A key feature of Jarvis Reach is lead management. You can either import leads manually from LinkedIn searches or let Jarvis Reach automatically suggest potential contacts.
- Use tags and labels to categorize prospects.
- Keep track of which leads have responded and which need follow-ups.
- Integrate with your CRM for seamless tracking if your workflow requires it.
This step is crucial because even the best outreach is only as good as your ability to manage and follow up on leads.
Step 5: Optimizing Your Messages for Engagement
Jarvis Reach is powerful, but your success depends on how well you write messages. A few tips I’ve learned:
- Keep it short and conversational. People respond better to messages that don’t feel like copy-paste.
- Start with a connection or common interest. For example: “I noticed you work in IT security I’d love to hear your thoughts on…”
- Avoid overloading with sales language. Focus on genuine engagement first.
By combining these strategies with Jarvis Reach, you maintain personalization even at scale, which is something many automated tools fail to do.
Step 6: Tracking Performance and Iterating
Jarvis Reach isn’t a “set it and forget it” tool. Tracking metrics like open rates, response rates, and engagement patterns is essential.
- Test different messages and subject lines.
- Adjust your sending schedule based on responses.
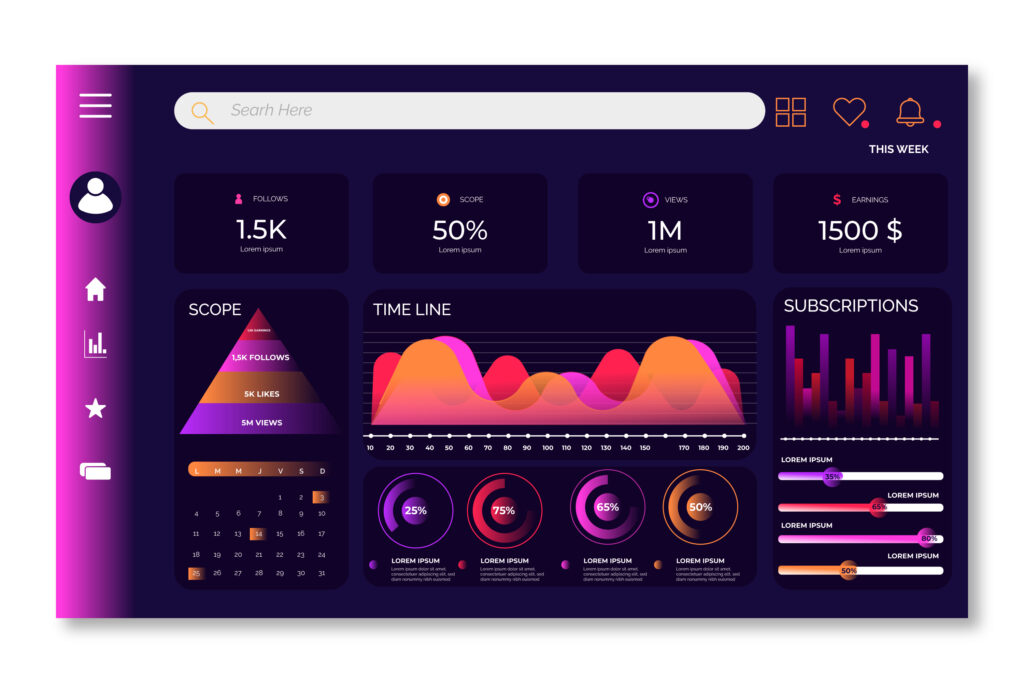
- Use the analytics dashboard to identify top-performing outreach strategies.
Think of this like debugging code: you try, observe results, refine, and improve. Over time, your campaigns become far more efficient and yield better lead generation outcomes.
Step 7: Best Practices for IT Professionals and Marketers
From my experience, a few additional best practices can elevate your Jarvis Reach campaigns:
- Segment your audience carefully. Don’t send the same message to everyone.
- Respect LinkedIn’s limits. Avoid being flagged for spam by pacing your outreach.
- Combine automation with personal follow-ups. Automation is a tool, not a replacement for genuine conversation.
- Regularly update your message templates to avoid sounding repetitive.
Following these tips ensures you get the most out of Jarvis Reach while building meaningful professional relationships.
Conclusion: Start Smart, Scale Confidently
Getting started with Jarvis Reach doesn’t have to be intimidating. By following this step-by-step tutorial, you can automate your LinkedIn prospecting, save hours of repetitive work, and focus on building real relationships with your leads.
The beauty of Jarvis Reach is how it blends automation with personalization making your outreach efficient, yet human. Take the first step today, experiment with your first campaign, and gradually scale your efforts. In time, you’ll see how much a well-structured lead generation tool can transform your workflow.
Jarvis Reach isn’t just software; it’s a productivity partner for anyone serious about modern sales and outreach.

