


 02
02
 01
02
03
04
03
01
02
03
04
03
 04
01
02
04
01
02
 03
04
01
02
03
04
03
04
01
02
03
04
01
02
03
04
03
04
01
02
03
04
03
04
01
02
03
04
01
02
03
04
 01
02
03
01
02
03
 04
01
02
03
04
01
02
03
 04
01
02
03
04
01
02
03
04
05
06
01
02
03
04
06
01
02
03
04
05
06
04
01
02
03
04
01
02
03
04
05
06
01
02
03
04
06
01
02
03
04
05
06


 03
04
03
04


Bonding and spending time with their father is important to the overall development of a child. As per Evan Bass
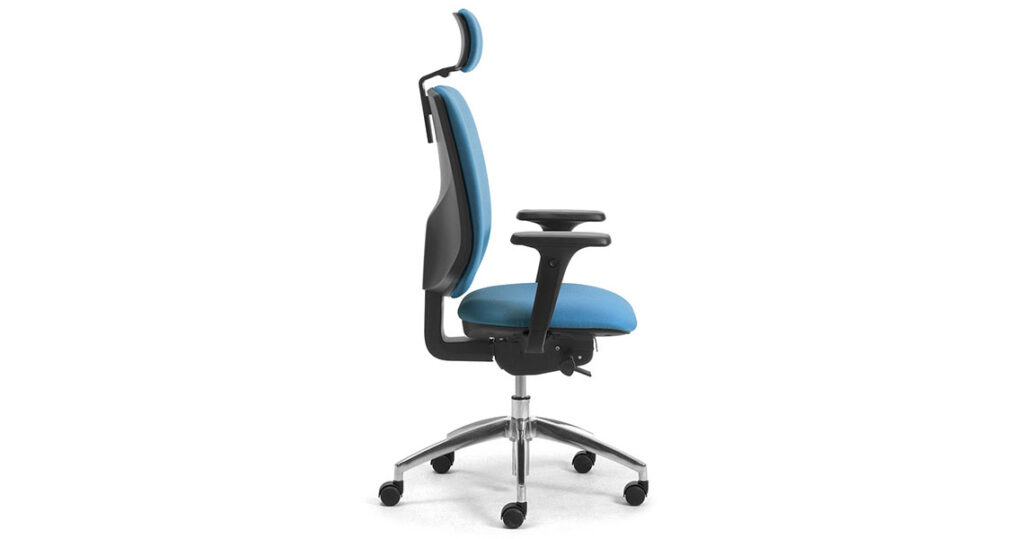
Attracting and retaining top talent in a business is the key to maintaining a competitive edge according to Charles Spinelli.
The first 90 days of working with a financial advisor are as vital for the professional as the client. It’s
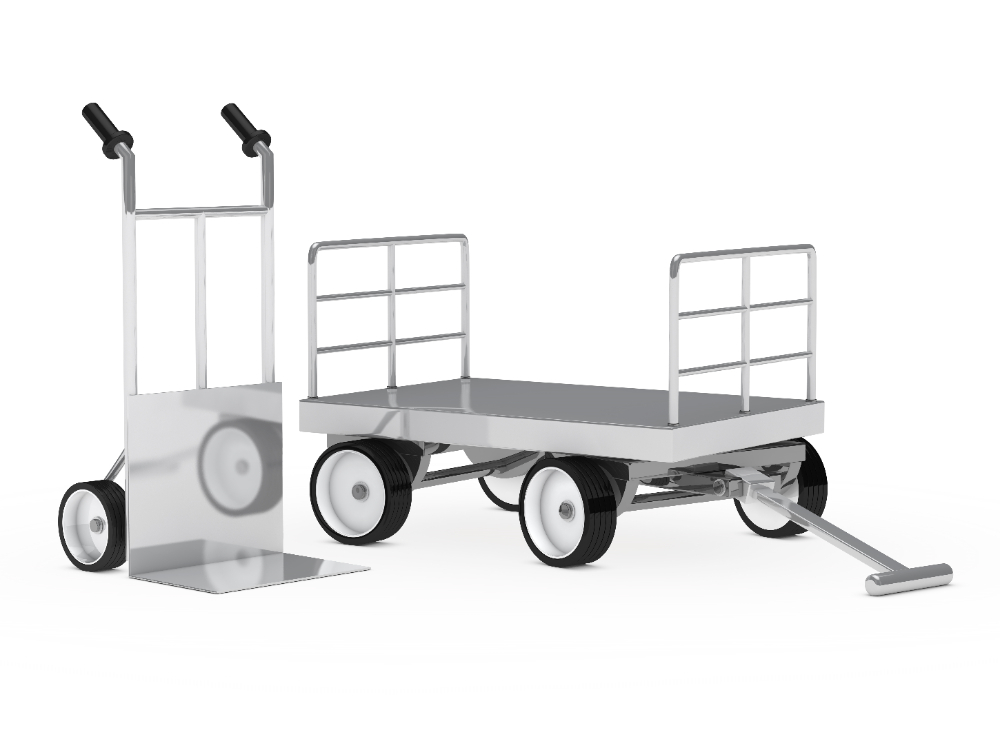
Moving to a new home is quite a stressful and time-consuming endeavour. Preparing for a move involves a myriad of
When it comes to trail running experience, exposure to varying weather conditions is natural. Notably, it is weather that broadly
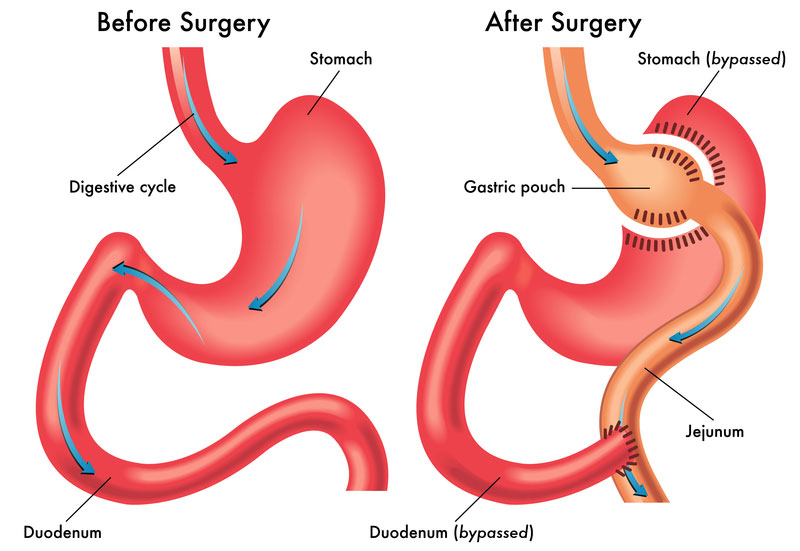
Post-operative care is a critical aspect of healing, especially when recovering from surgery related to joints. A variety of treatment
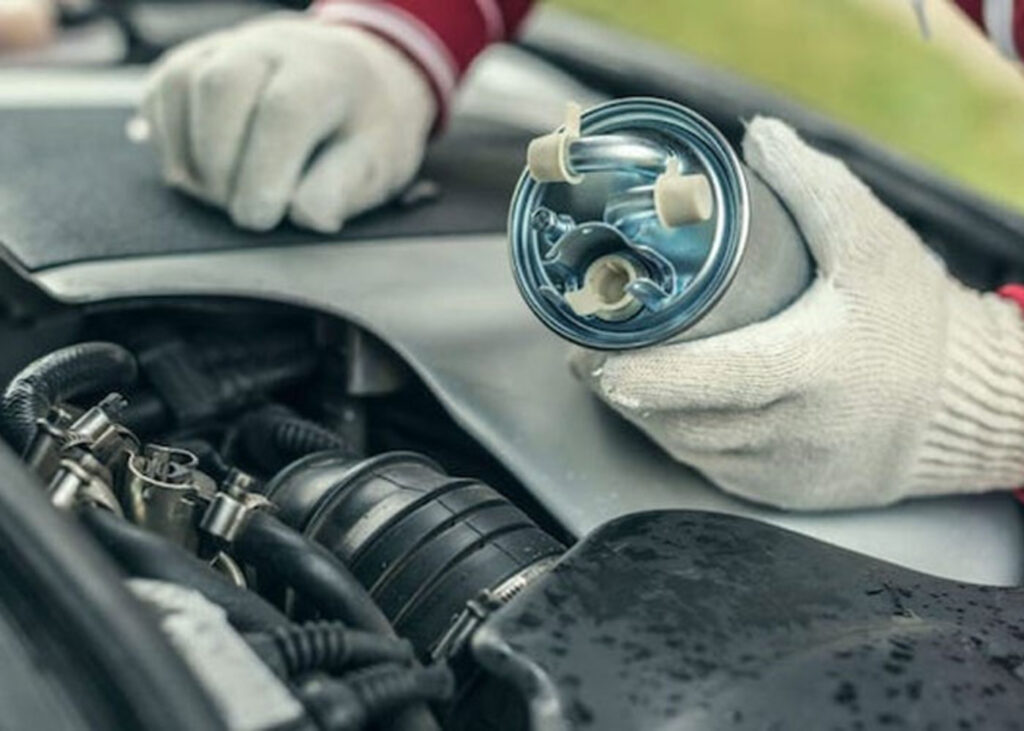
It is very important for regular car servicing as it plays a crucial role in the maintenance of safety, ensuring
In the realm of modern aesthetic enhancements, jawline contouring injections have emerged as a leading non-surgical method to sculpt and
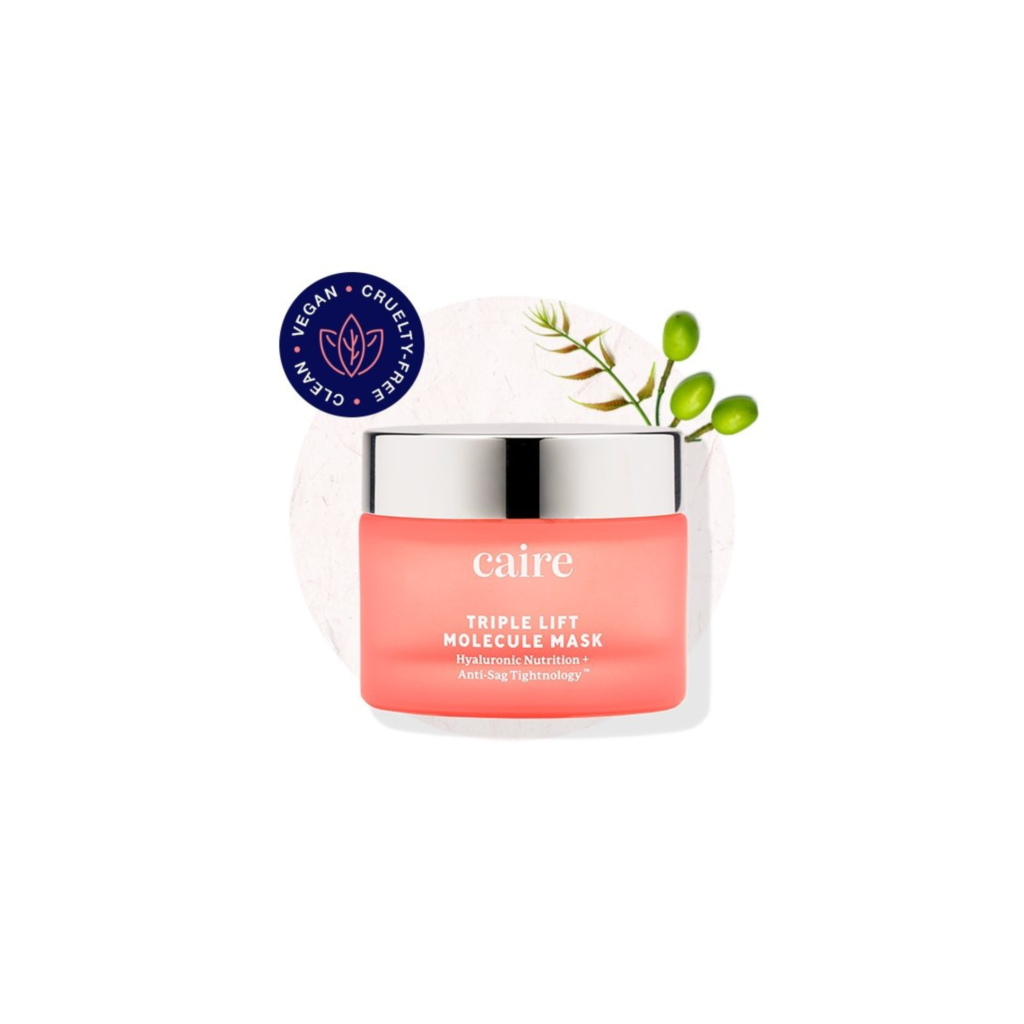
Large pores are a common skincare concern for many people. While not harmful, they can make the skin appear uneven
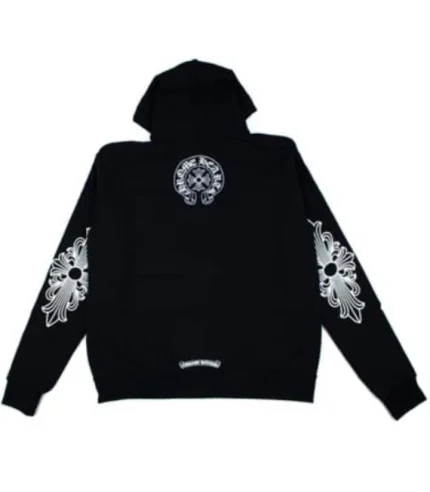
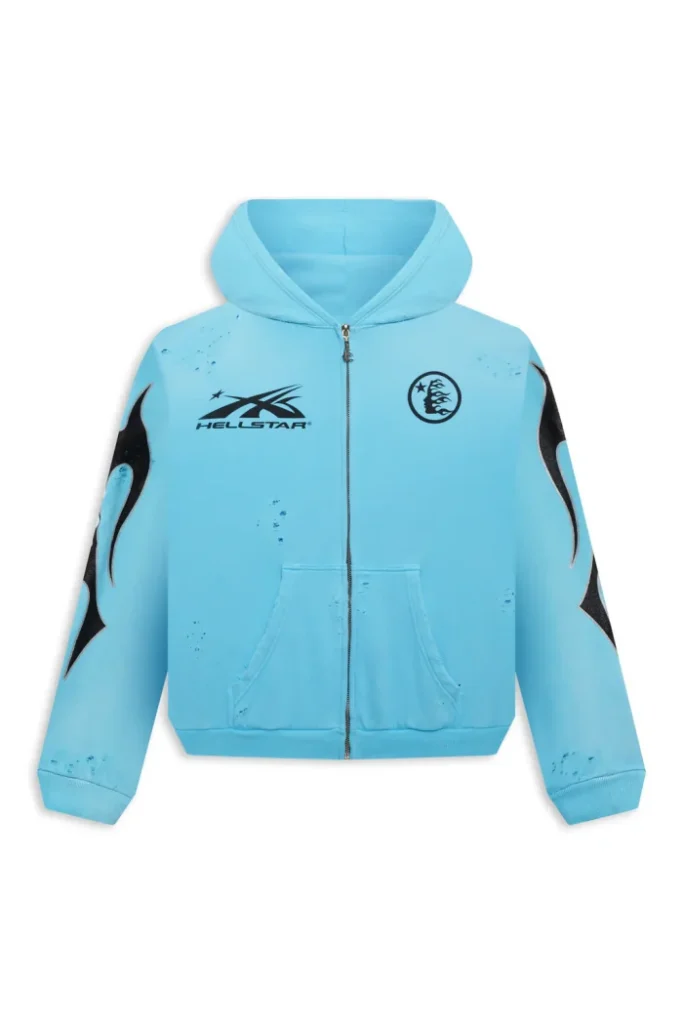
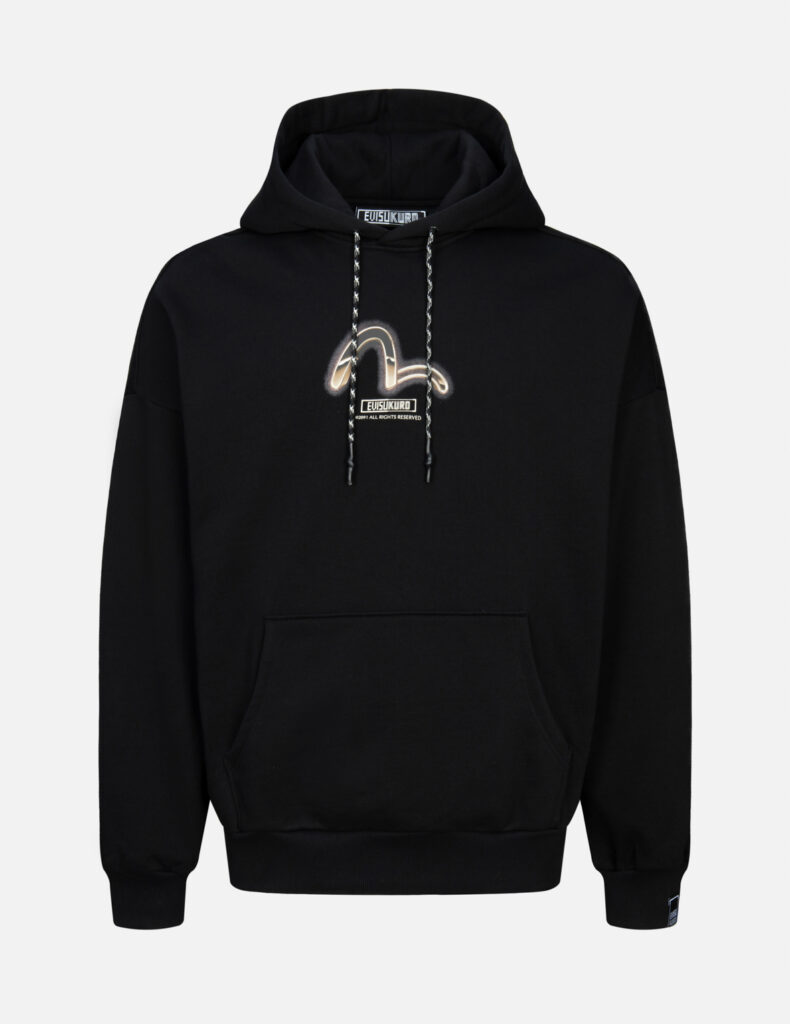
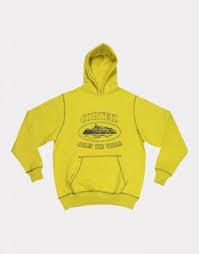
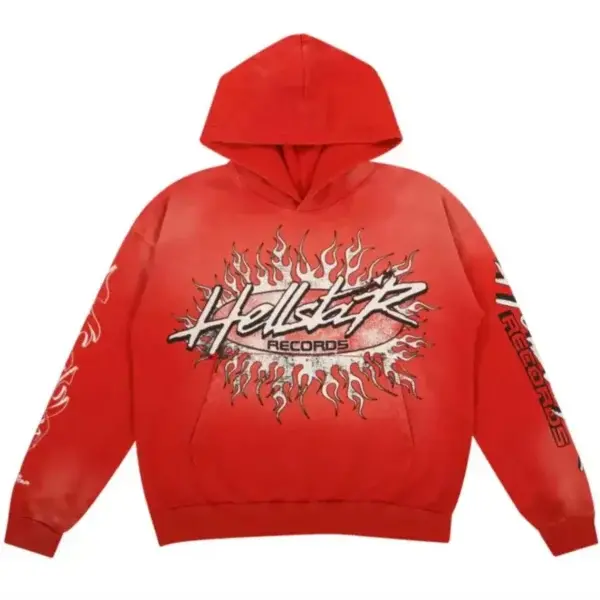
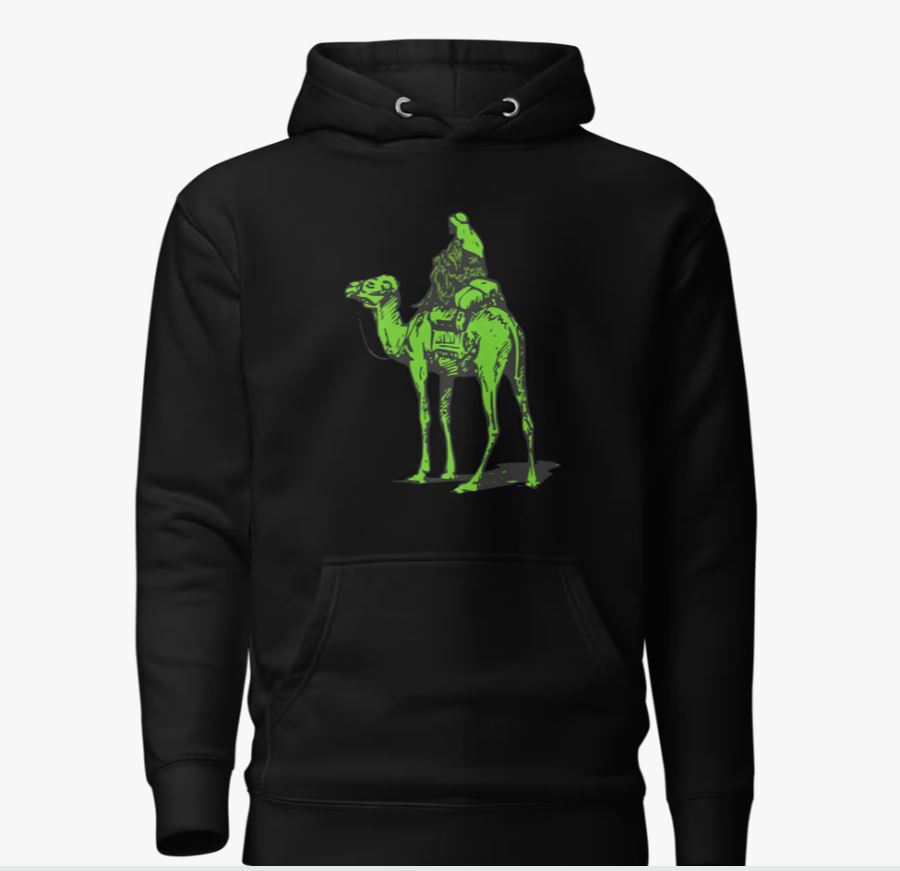
Hellstar Shirt Offers Unique Style The Hellstar shirt has become a popular choice for people who enjoy bold fashion with
Do you fantasize about lounging on a secluded seashore, dwelling in a 5-megastar inn, or flying pleasant luxury? Most people
In a city known for its luxurious lifestyle and relentless sun exposure, maintaining healthy, radiant skin can be a challenge.
In today’s fast-paced and uncertain world, many people are looking for a deeper sense of peace, trust, and purpose. Whether
Dubai, a city known for its luxury, beauty, and innovation, is also a hotbed for cutting-edge skincare treatments. For many,
In 2025, messaging is more than just text—users want control, customization, and privacy. GB WhatsApp delivers all of that and


This may be the latest case of post aggression emigration in Ukraine. But it is unlikely to be the final stage for millions of people to leave the country. These people do not want
 English